
Setup dynamic opengraph og:image meta tags with nodejs
Understanding OpenGraph Tags
OpenGraph (OG) tags are special meta tags developed by Facebook in 2010 that allow web developers to control how URLs are displayed when shared on social media platforms. They've since become a standard adopted by most social networks including Twitter, LinkedIn, Pinterest, and messaging apps like WhatsApp, Telegram and more.
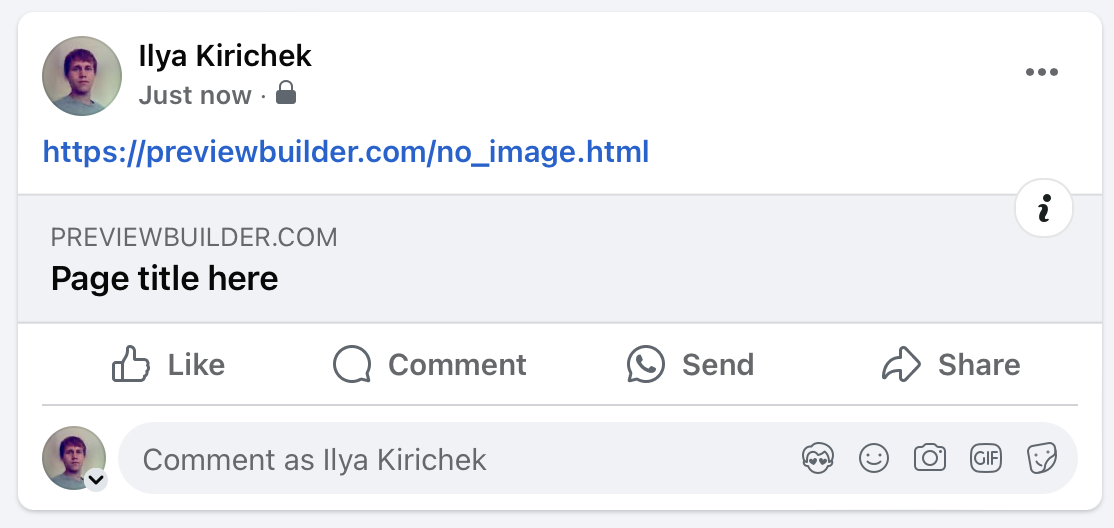
There is how site's links preview looks like without opengraph og:image tags.
But many engines like wordpress/shopify/etc have setup tags correctly and set as opengraph image cover photo in case of media article/blogpost or a random photo in case of store product.
There is how site's links preview looks like with default setup opengraph og:image tags.
Article/blogpost preview - with just cover photo
Store product preview - usually cropped because common product photo not fit in recommended landscape format for opengraph previews
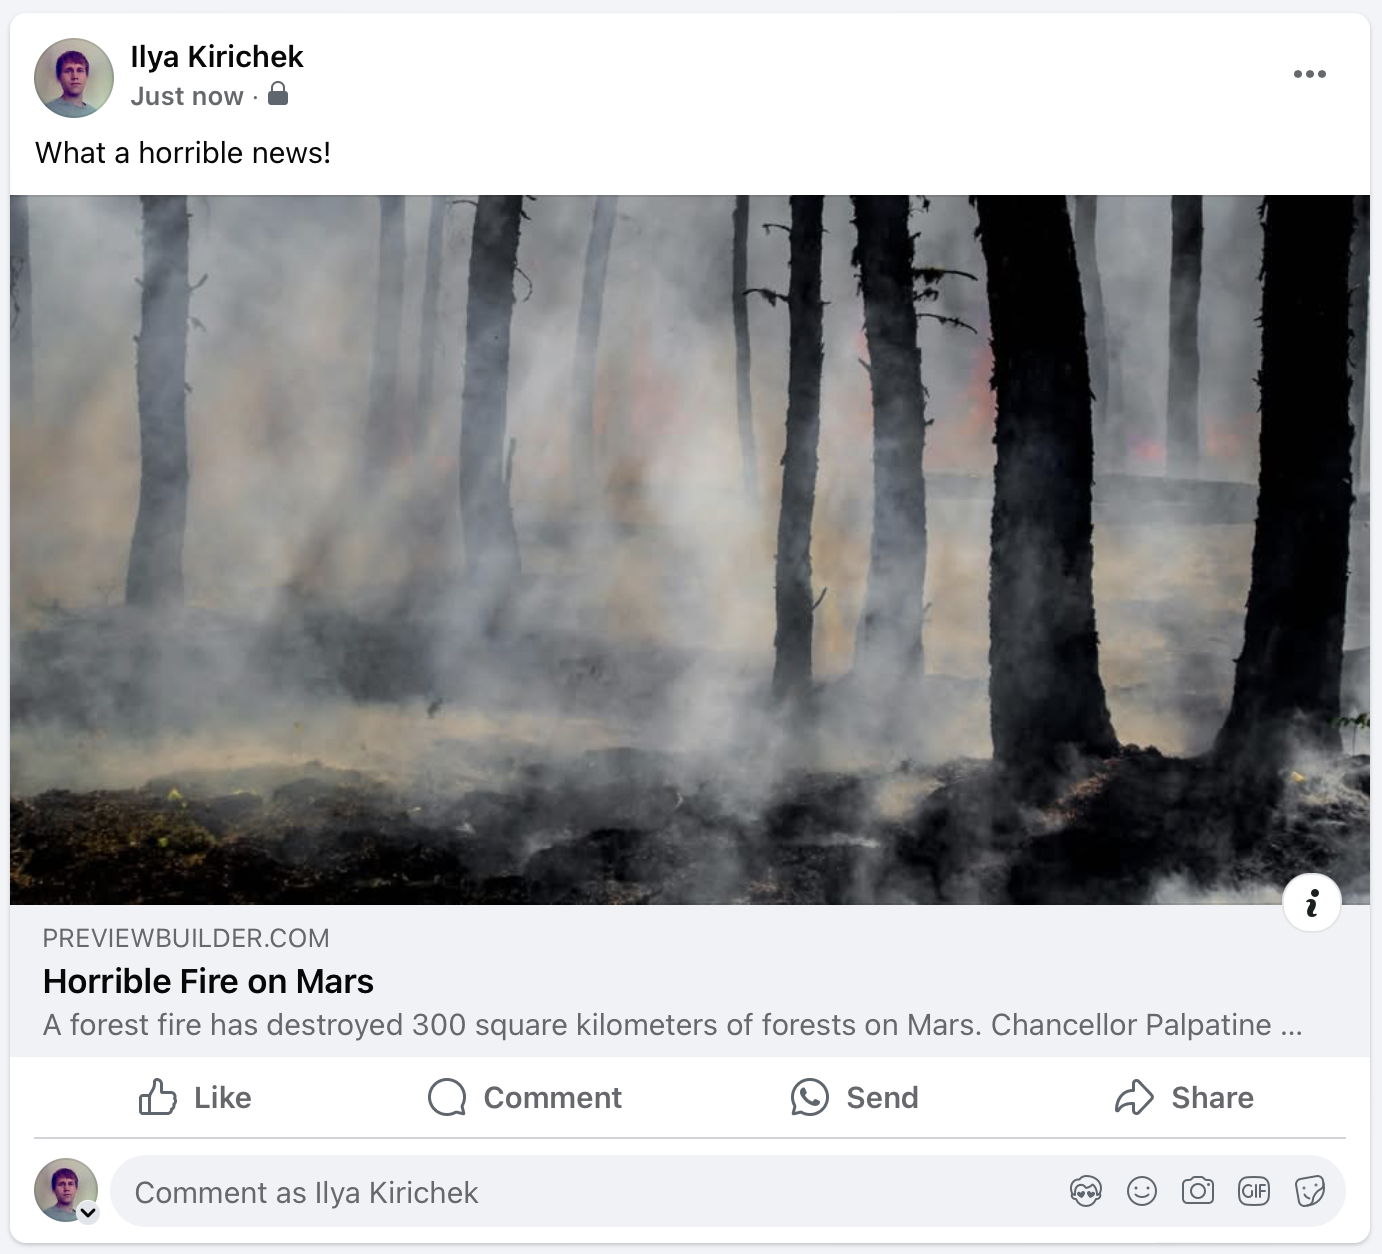
There is better than nothing but the next step is to setup rich dynamic opengraph previews. Look how this links previews looks with integrated dynamic opengraph tags.
Article/blogpost preview - with description over image. You can also add your branding/logo to increase brand recognition.
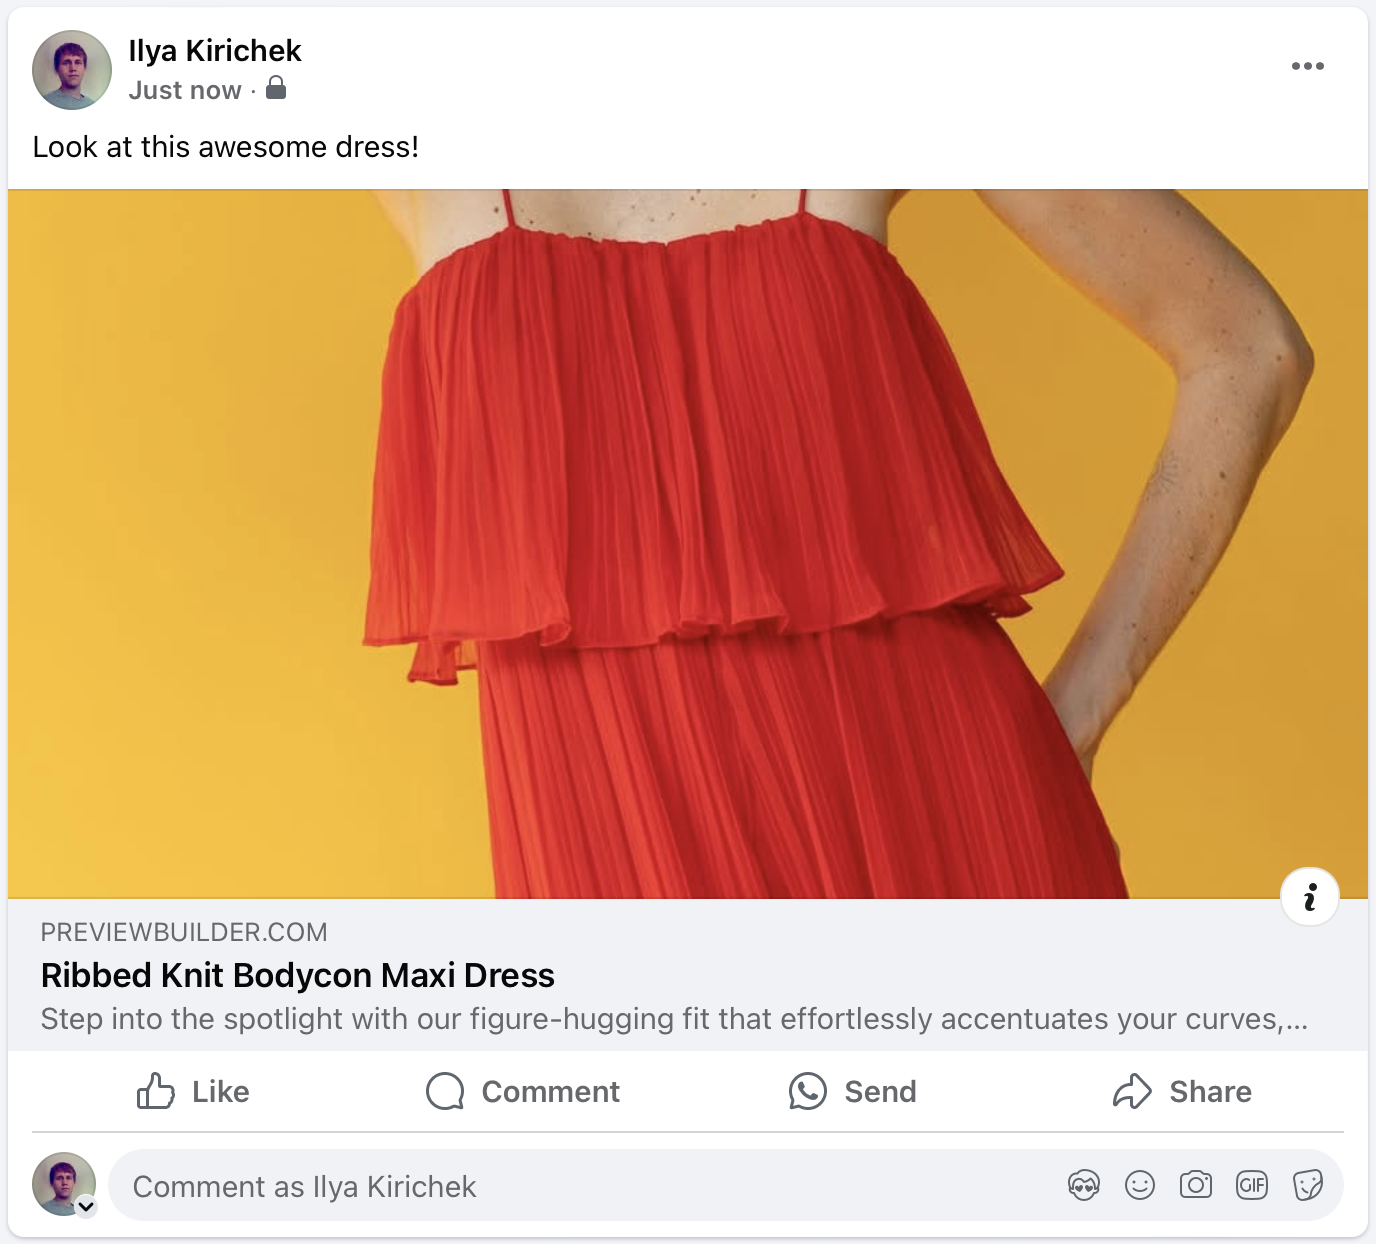
Store product preview - full image with title and price tag, also discount can be shown here. You can also add your branding/logo to increase brand recognition.
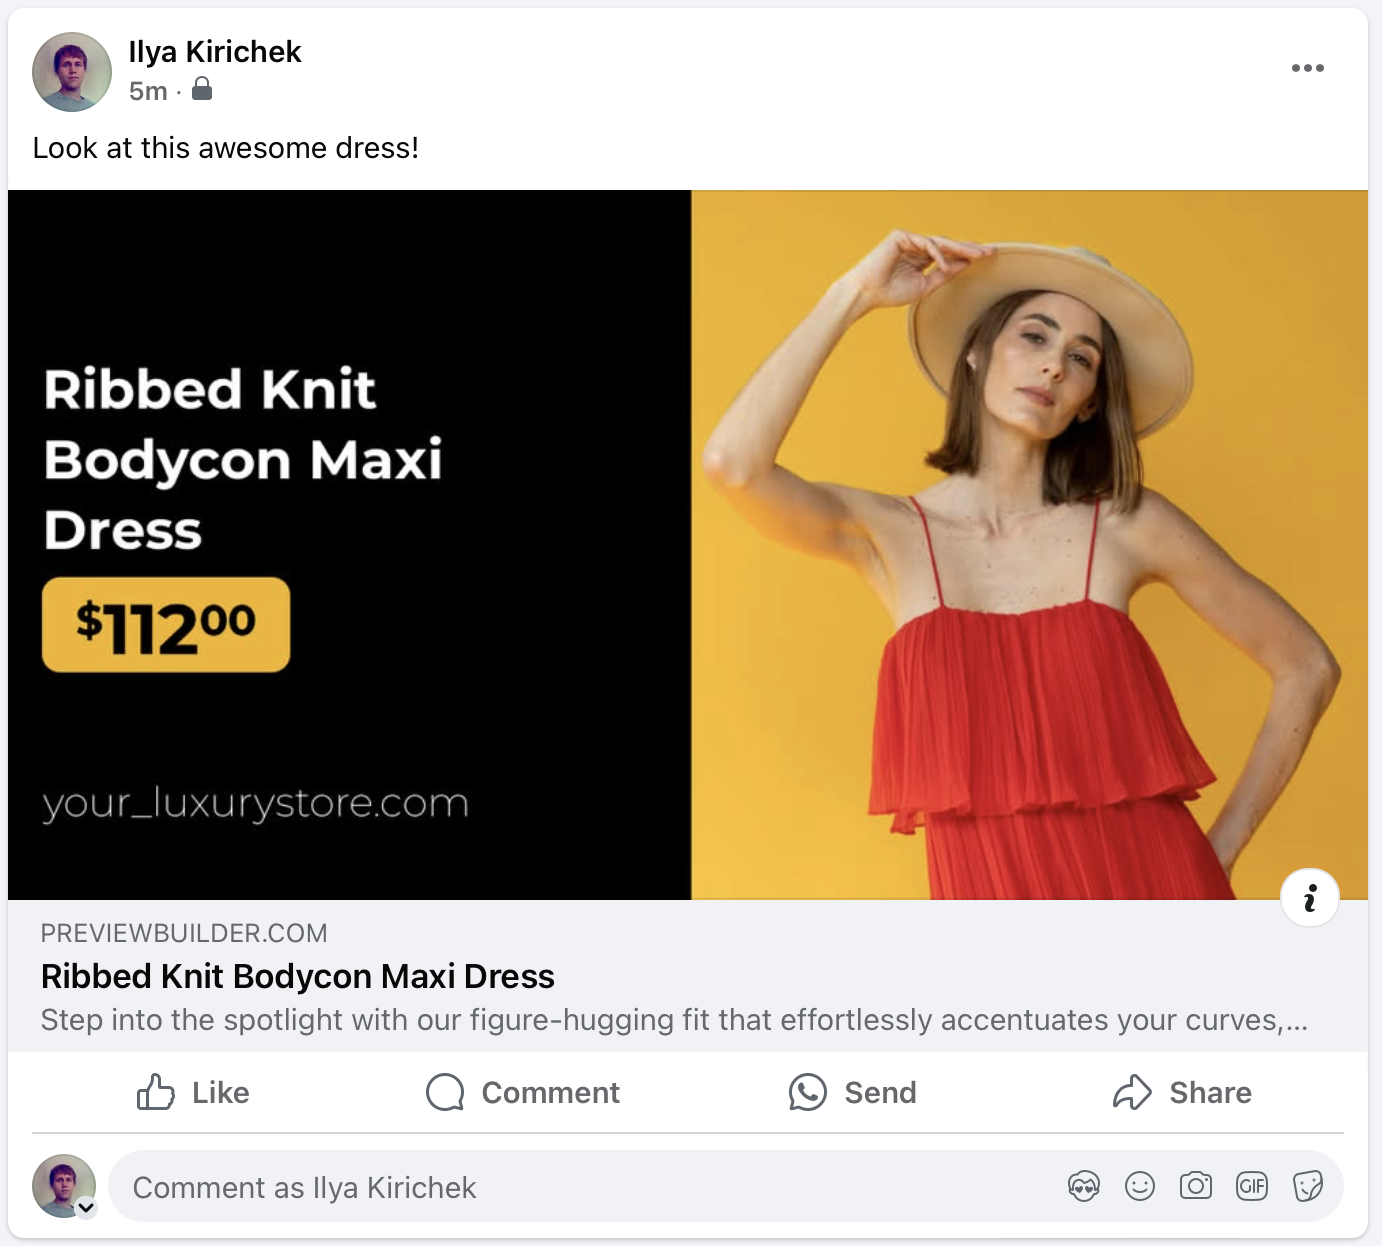
Obviously, when a person scrolls through the feed on Facebook, such a post will attract much more attention. Also, with branding elements in the picture, you will greatly increase the recognition of your brand.
Such preview will also works in all messengers and other social media platforms to boost your lead generation.
And the most important thing is that everything works absolutely automatically. You set it up once and the previews will work for both old links and those that will appear in the future.
Create template
At first you need to signup in https://app.previewbuilder.com/signup.html. Registration is simple and there is free trial - no credit card required.
1. On first welcome page just click on "Create first template"
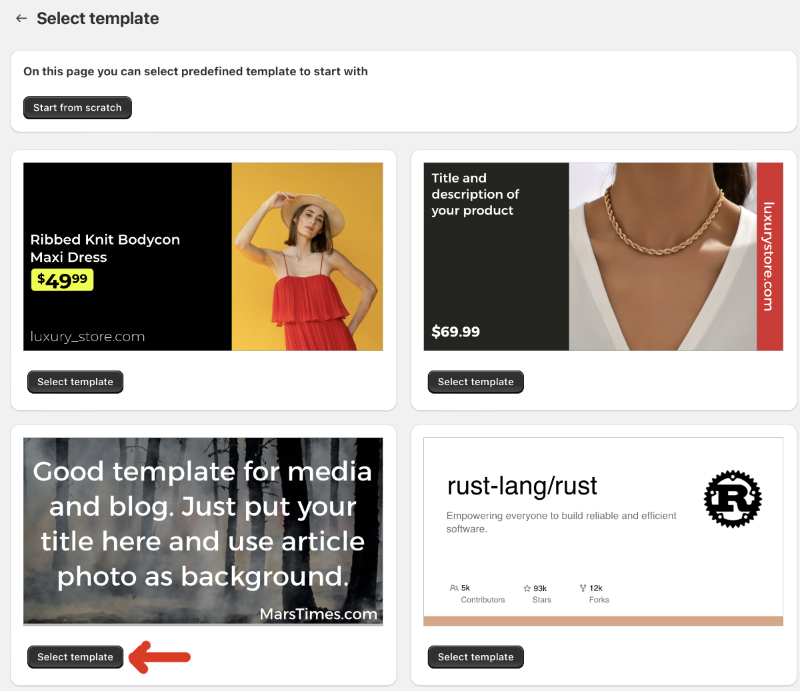
2. On second page you can select template to start with or start with scratch
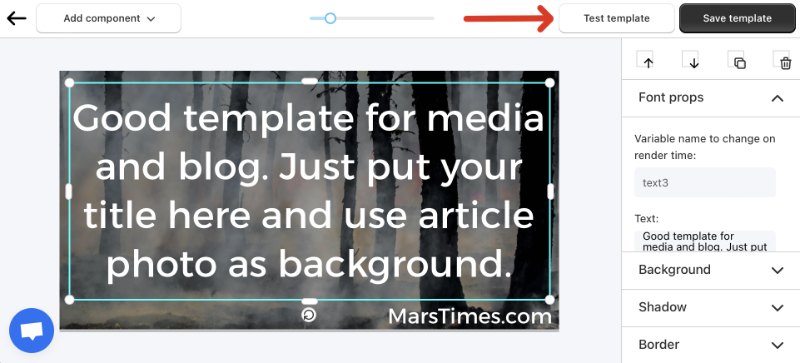
3. On third page you can polish your template with a powerful editor. You can skip this step by now and return to template editor later so just click on "Test template".
4. On fourth page you can test your template rendering with different images/texts/etc. Click on nodejs instruction tab.
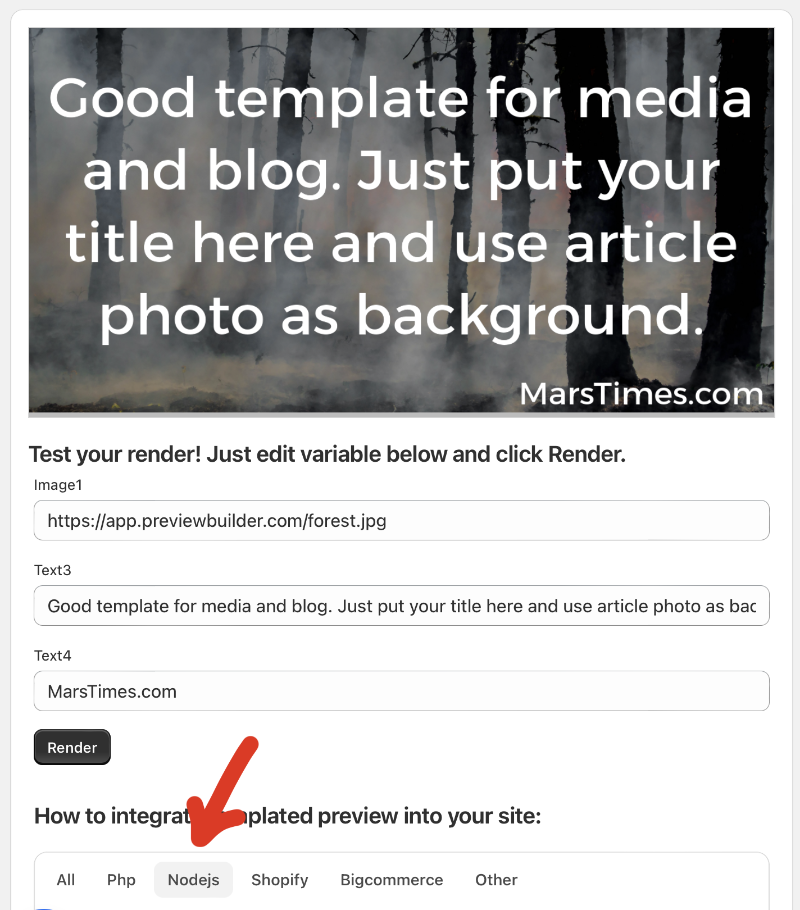
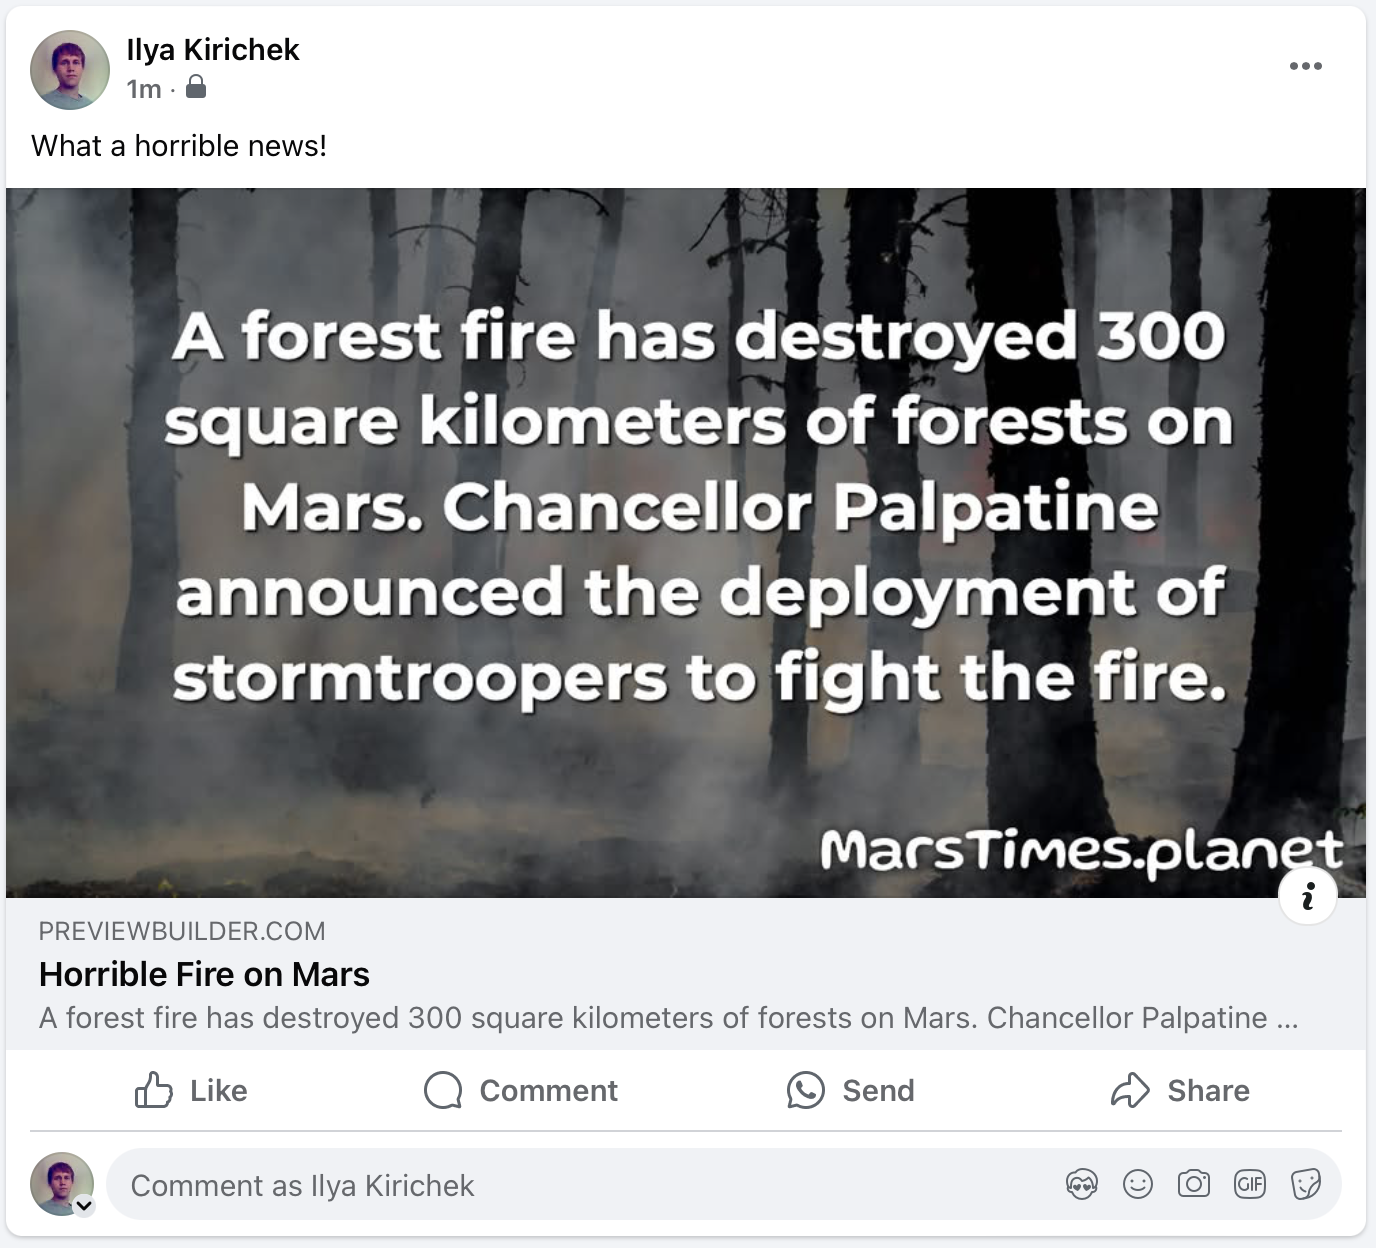
There you will find code example how to build dynamic url to integrate into your nodejs site with necessary params. Code snippet in admin will contain params for your template (like field, secret key, tempalte_id, etc. Example will be below:
// You need to add those meta tags to your HTML on render time. Will work fine with server side rendering like nextjs/ejs/etc.
<meta property="og:image" content="{render_url}" />
<meta property="og:image:width" content="1200" />
<meta property="og:image:height" content="628" />
// render_url is a dynamic variable!
import crypto from 'crypto';
const template_id = "67c045da48d9cc001211ca01";
const path = `https://w0.previewbuilder.com/api/r/67c045da48d9cc001211ca01`
const your_secret_key = "b71e7d611639e825a133d654f0f1ba86fe9c48ef01204a237f182a48bfd5b18d"
const Image1 = "https://app.previewbuilder.com/forest.jpg";
const Text3 = "Good template for media and blog. Just put your title here and use article photo as background.";
const Text4 = "MarsTimes.com";
const query = `Image1=${encodeURIComponent(Image1)}&Text3=${encodeURIComponent(Text3)}&Text4=${encodeURIComponent(Text4)}`;
const signature = crypto.createHmac('sha256', your_secret_key).update(query).digest('hex');
const render_url = path + '?' + query + '&s=' + signature;
// insert meta tags with render_url into <head /&rt; section.
If you have any questions feel free to contact us via support chat widget. We will be happy to help you to integrate our service.